Showing posts with label DIY. Show all posts

12.31.2012

2012 in review

This year when Mike and I sent out Christmas Cards I decided to send out our Year in Review out too.
Here's what it looked like:

What are some of your highlights from 2012?


12.03.2012

Baby Showers and a Christmas Playlist

I am a big fan of parties, small, big, it doesn't matter.

This last Saturday I had the opportunity to host a friend's Baby Shower. I decided to to give it a winter picnic theme...
The invites had a splash of plaid
 (as did the party favors) and for the most part I just threw pinecones and candles around the room.
The Pinecone Banner


Chocolate Cake!

The Sign-In table with the Mom and Dad to-be

The Baked Potato Bar

The Guests pt.1

The Guests pt.2
The Playlist I had going on during the Shower (and have had since in my head):

12.31.2011

A DIY Christmas

Some things are just too fun NOT to share...

Like these stockings made by yours truly...


               Not too bad for my first time working with felt and stockings!

 These pencils ordered from Explicitly Yours...

Warning: Don't make the mistake of believing that because a pencil has colorful wrapping that the lead is also colorful... You will feel really stupid afterwards. Trust me in this.

and....

THIS SHIRT!

I call it... 
The Chalk Shirt
 It's inception came about as the result of a bad joke after my unsuccessful attempt to convince my husband's friends how cool chalk vinyl is.
To help prove my theory I made the doubtful friend a shirt that I hope will for ever live on in Christmas Gift History.

It was a very easy project and just in case you decide you to ever make The Chalk Shirt yourself one day I'll show you how to make one!


Instructions
First, you need all THESE things:

-1 washed shirt
-Fabric Glue
-Chalkboard Vinyl
-Scissors
-Pencil 
-Chalk
(and something to place between the front of the shirt and the back so you don't end up gluing your shirt shut)

Second, trace out the chalk bubble you would like to appear on your shirt on the vinyl (make sure the image is the opposite of what you want to appear on the shirt)

Third, decide where you want the bubble to go and trace along the outside of the bubble on the shirt (for correct placement after you apply the fabric glue)

Fourth, place protective layer between front and back of shirt and apply glue to the back of the chalkboard vinyl (make sure you take off any backing there might be on the vinyl)

Finally, Set onto shirt and let dry!


It's so cool I might have to make one for myself!

12.22.2011

A Christmas Treat

I love coming up with unique, fun presents for my friends and family! 
If I know you pretty well, or we have inside jokes, than you can be pretty sure that your Christmas present is going to be a lot of fun!
This year there is one present in particular that I am really proud of!

But, on the off chance that the individual receiving that gift reads this blog, I'm going to wait to share my genius with you til after the holiday.

However, I would like to share with you a treat I've been sharing with my friends that makes me cry with joy! 

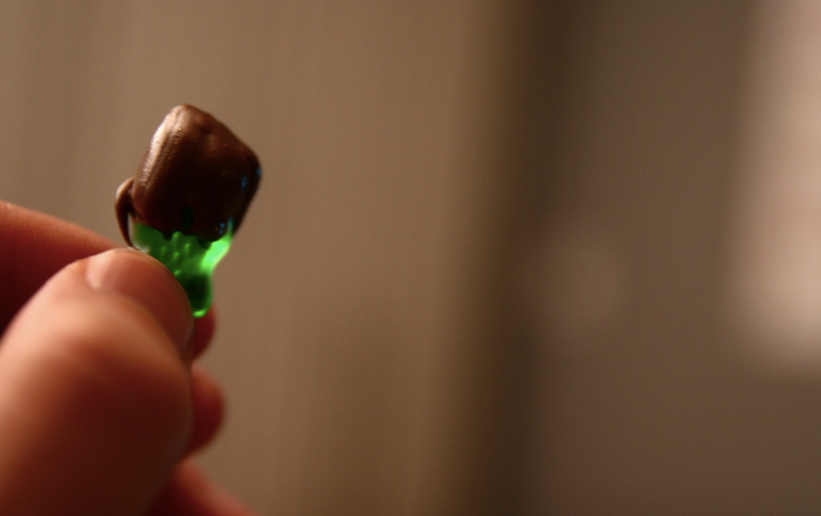
Chocolate Covered Gummy Bears!


They are sooo easy and are delicious to the taste!

Here are the Directions:
1. Buy a bag of gummy bears and a couple bars of Hershey's Milk Chocolate.
2. Start a pot of boiling water then place a glass bowl on top (make sure the water doesn't touch the bottom of the bowl)
3. Break up the Hershey bar and place the pieces in the bowl (the glass bowl will distribute the heat of the boiling water evenly so that all of the chocolate will melt at once!)
4. Set some wax paper to the side
5. Dip/roll your Gummy Bears into the chocolate and then place them on the wax paper
6. Place the wax paper (with the Gummy Bears on top) into the freezer to set
7. Take the Gummy Bears out, thaw and enjoy!

A small tip
Melt the Hershey Chocolate a couple pieces at a time, that way you use up all the chocolate before it starts to burn